Red velvet cake, what a romantic name!
Ever since Christina of
Grey's Anatomy chose the red velvet cake as their wedding cake, I've been wondering how it'd taste. The white icing in contrast with red-brown color cake does fit the wedding theme very much. Despite the luxurious name, the ingredient were actually basic, well at least the version I made was pretty strict forward. I whipped it up in less than 20 mins. (not incl. baking time)
Recipe from
Fűszer és lélek ..check out her beautiful presentation!
The translated recipe as follows :-
Red Velvet Cake
Ingredients:Dry (a)
2 1/2 cups flour, sifted
1 cup sugar
2 teaspoon baking soda
1 teaspoon salt
2 tablespoon cocoa powder
Wet (b)
1 cup
kefir or yoghurt
1/2 cup butter or margarine
1/2 cup oil
1 tablespoon white vinegar
1 tablespoon vanilla extract
2 eggs
2 tablespoon red food colouring
Frosting (c)
3 tubs cream cheese
powdered sugar, to taste
100ml sour cream
1/2 a lemon, juice and zest
Method :-
1) Preheat oven at 180°c
2) Combine dry(a) and wet (b) ingredients well in separate mixing bowls.
3) Add wet ingredients to dry ingredients and mix well.
3) Pour mixture to spring form and bake for 30-40 mins. or until the skewer comes out clean.
4) Let cake cool.
5) Meanwhile, prepare frosting by combining the ingredient ( c).
6) Cut cake into 3 layers and spread each layer with frosting.
7) Finally decorate as desired. Chill cake before serving.
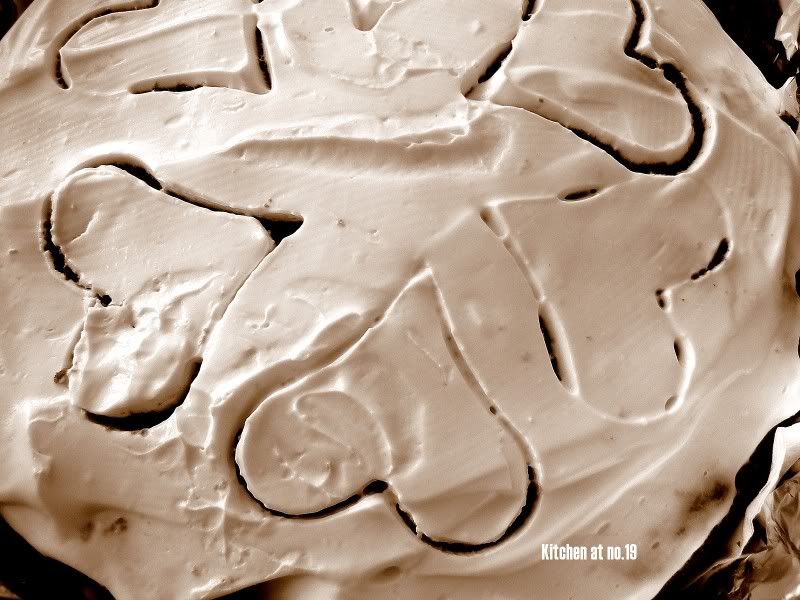
Verdict :Appearance : The red didnt turn out as dramatic comparing to images found on the web. It's more dark chocolate in colour. Perhaps changing another brand of red food colouring would help.
Taste : Light and moist but forgettable. For me , the cake tasted better chilled overnight in fridge.
will definitely bake this again for its simplicity. Will also try out other variations available on the net ;)
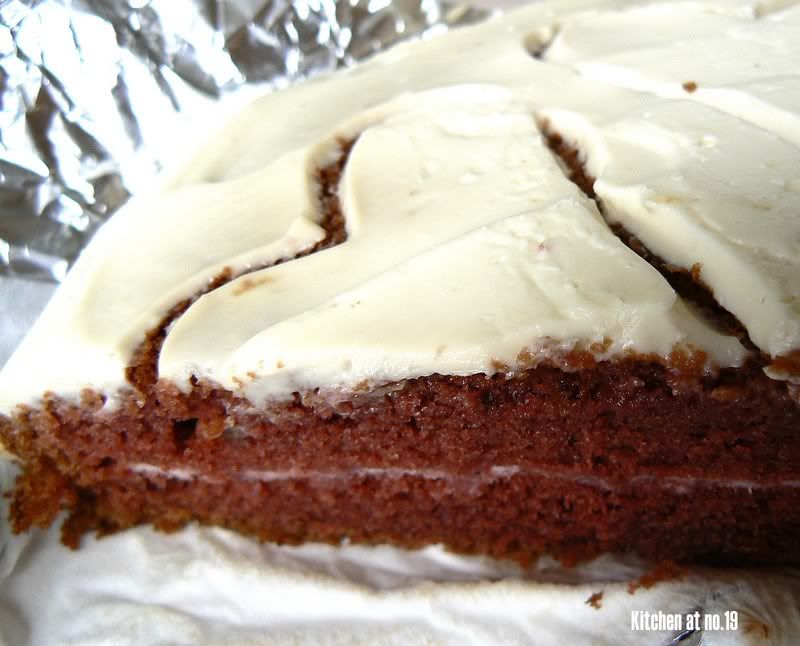
Since I halved the ingredients, my cake had only 2 layers. Oh, excuse for the uninspiring shot. didn't have time to compose a nicer shot..too many eyes on me!
For a inspiration on how to decorate and info. on this cake, go to
Joy of Baking.
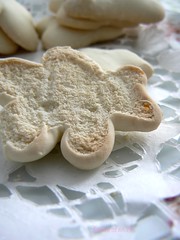
 Say hi! to my bangkit bears :)